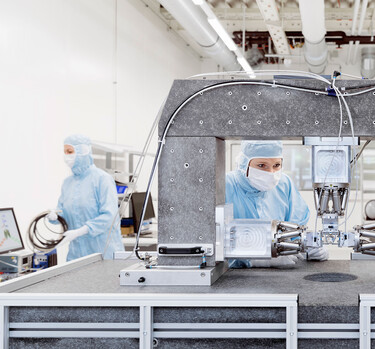
System Measurement. For Prototypes and Production.
Our measurement technique expertise and our comprehensive equipment ensure that our optical components, assemblies and systems meet your requirements. For individual requests, we develop complete measurement setups with corresponding software in order to evaluate customer-specific parameters.
We measure what we manufacture. Our measurement techniques include:
Wavefront Measurement
We employ highly precise interferometers (up to λ/100 WF PV) to measure wavefront deformations in reflection and transmission. Our many years of experience in measurement techniques also allow us to perfectly adapt existing measurement equipment to product requirements. This means that we can take measurements, for example, at the respective position of installation, under cleanroom conditions and in climatic chambers. Intermediate testing during production is ensured through the use of numerous factory interferometers:
- Phase-shifting Fizeau-Interferometers
- Interferometers with short coherence length for multiple-layered glass
- Interferometers with CGH wavefront formation for aspheres
- Axial-stitching interferometers for rotationally symmetric aspheres
- Infrared interferometers, 3.4 µm
- Shack-Hartmann wavefront sensors for wavelengths of 350 to 1,064 nm and beam diameters up to 15 mm
- Fizeau-Interferometers on an optic bank to measure large spheres using stitching
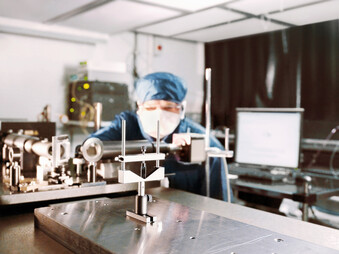
Wide range of optic measurement devices
Dimensional, Shape and Layer Measurements
We have numerous 3D measurement devices:
| Tactile 3D measuring machines | |
|---|---|
| DEA Global | DMP 7-10-7 (x-y-z: 700 mm/1000 mm/700 mm) Measurement inaccuracy 1.5 + L/333 |
| Brown & Sharpe | PFX 4-5-4 (x-y-z: 400 mm/500 mm/400 mm) Measurement inaccuracy 3.0 + 4.5xL/1000 |
Angle Measurement of Optical Components
To measure planar and wedge plates, prisms and polygons, we use goniometers with angular resolutions of 1 arc second.
Microroughness
To measure microroughness, we employ several white light interferometers with different features. In addition to microroughness, we are able to measure step heights with these instruments.
- Vertical resolution up to ca. 0.1 nm (for Ra < 10 nm)
- Lateral resolution up to 0.64 µm, NA to 0.55
- Field of view up to (7.07 x 5.30) mm
Spectral Reflection and Transmission Measurement
We employ spectrophotometers from various manufacturers:
- Lambda 900 and Lambda 1050 as well as Carry 7000 UMS
- Spectral range: 200-2,500 nm
| Transmission | Surface planar T = 0…100 % AOI: 0…85° for t < 1 mm |
|---|---|
| Reflection | Surface planar R = 0…100 % AOI: 10…85° (large AOI = large substrate) |
Imaging Performance
Modulation Transfer Function (MTF)
A large MTF system with a maximum aperture of 200 mm is available to measure imaging quality. In addition to MTF measurement, additional characteristics like distortion, field of curvature and focal width for field angles > 90° can be measured. Object and image positions are finitely and infinitely adjustable in wide areas.
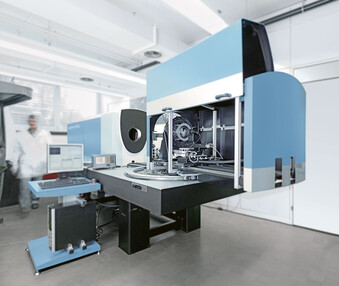
MTF measuring station
Contact our specialists
Please choose your contact partner:




Let us call you back!
SwissOptic AG
Heinrich-Wild-Strasse
9435 Heerbrugg, Switzerland
Phone +41 71 747-0420
swissoptic@swissoptic.com


